Crafted using sand and epoxy, gorgeous flooring has a rich history dating back to ancient times. This unique combination offers both durability and aesthetic appeal, making it a popular choice for modern interiors. The process of creating this stunning flooring involves skillful craftsmanship and innovative techniques that have evolved over the years.
Sand and epoxy flooring not only provides a beautiful finish but also boasts remarkable strength and resilience, standing the test of time in various settings. Its versatility allows for customization to suit different design preferences while maintaining its exceptional quality. Discover the artistry behind sand and epoxy flooring as we delve into its fascinating journey through time.
Unique Aesthetic Appeal
Natural Beauty
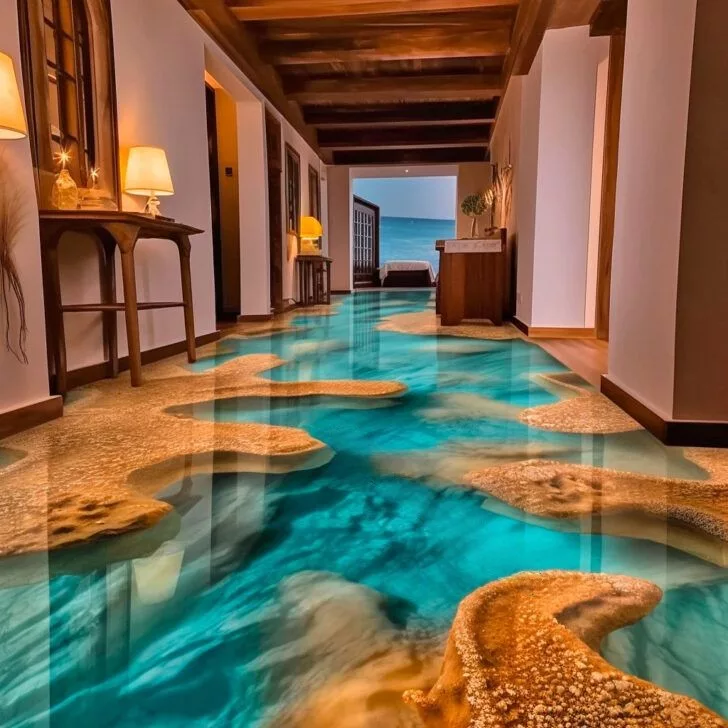
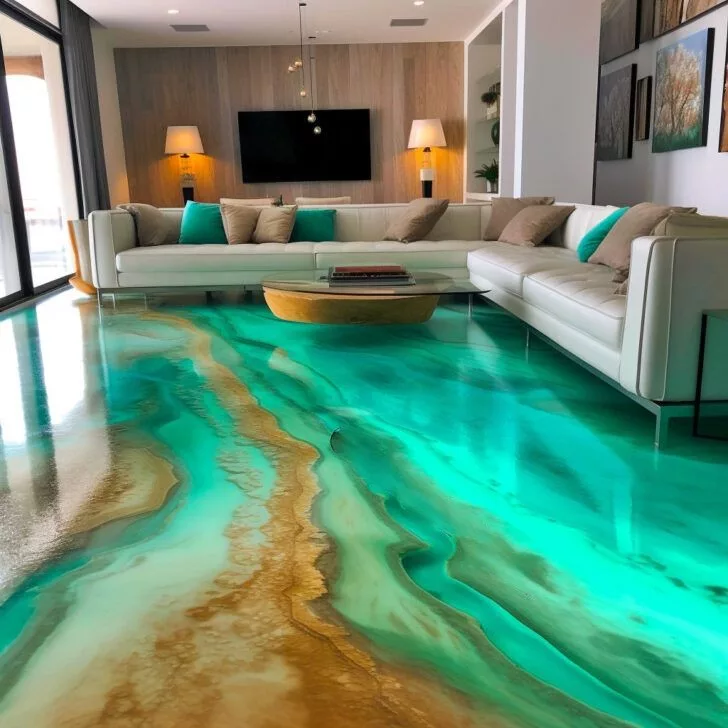
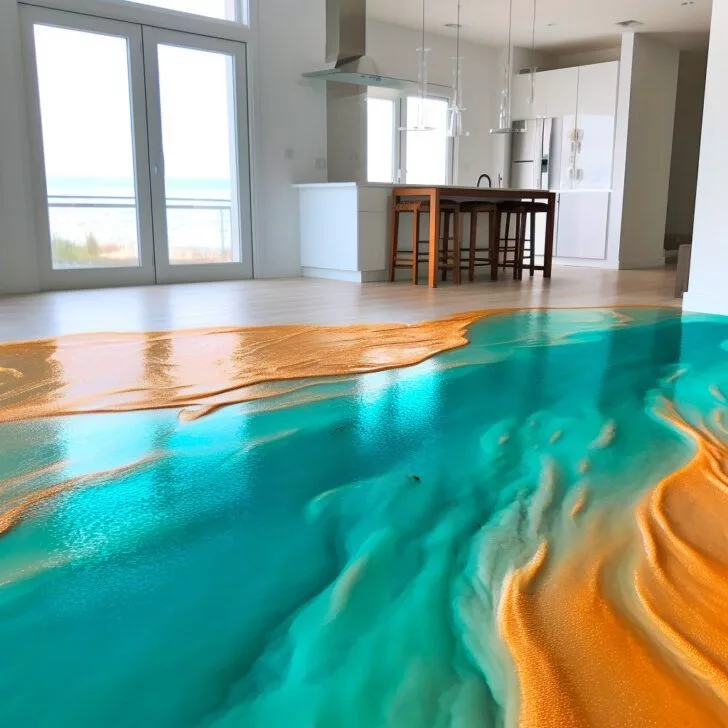
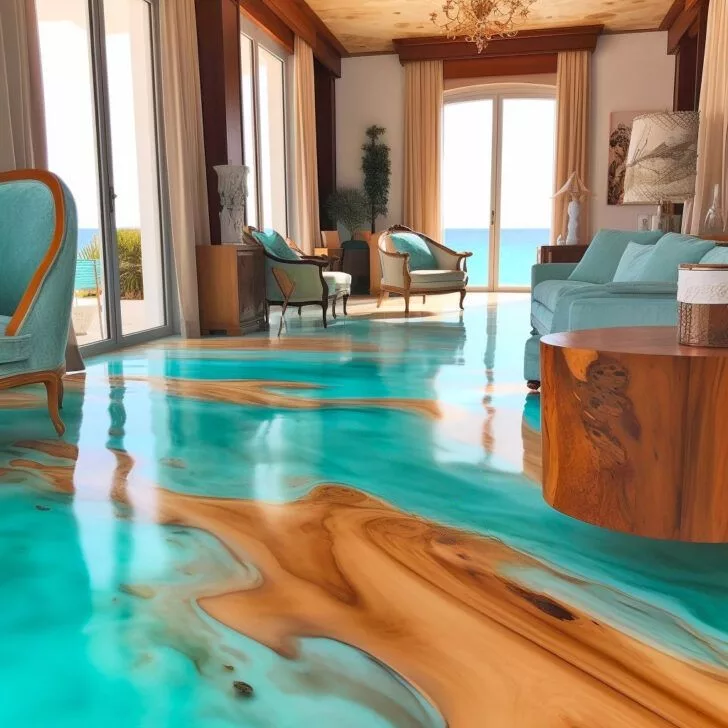
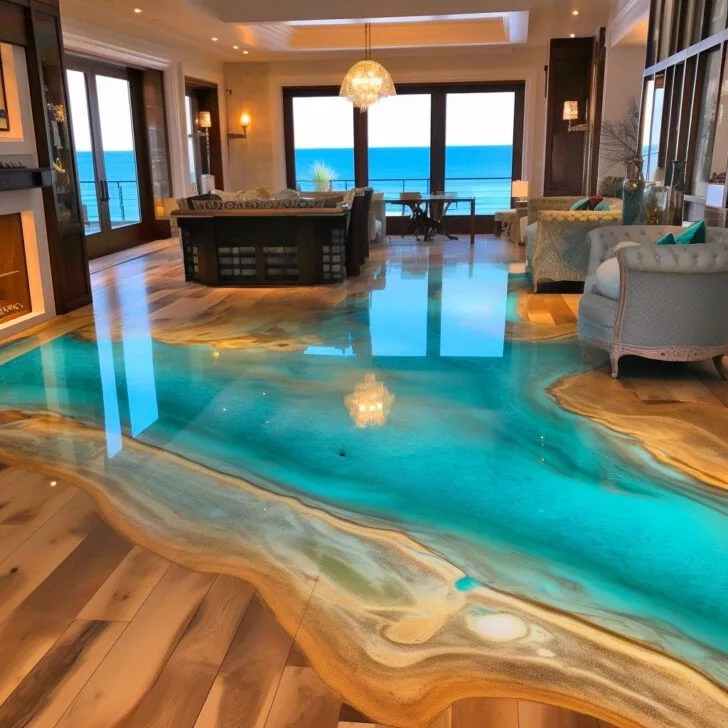
gorgeous flooring made of sand and epoxy showcases natural beauty with an elegant touch. The combination of these materials creates a seamless and customized look, enhancing the overall aesthetic appeal of any space.
Sand-infused epoxy flooring offers a unique sandy texture that adds depth and character to the surface. The aesthetic appeal of this flooring option lies in its ability to mimic the look of natural stone or create a beach-inspired vibe within indoor spaces.
Visual Elegance
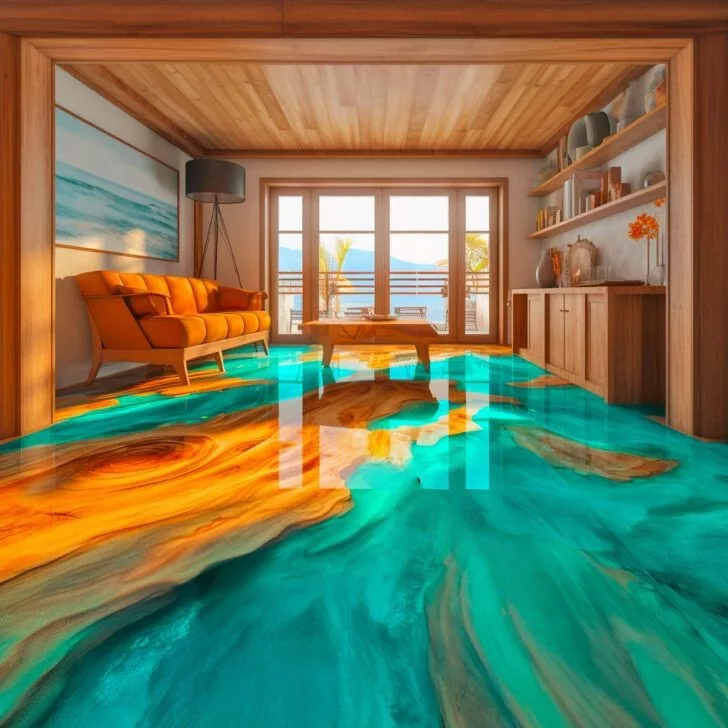
The quality of sand and epoxy flooring elevates the interior design by providing a visually stunning finish. Each batch is carefully mixed to ensure consistency in color, texture, and overall appearance, resulting in a unique end result that adds sophistication to any room.
By incorporating different pigments into the epoxy mixture, homeowners can customize their floors to suit their preferences. This customization process allows for endless possibilities in terms of color combinations, patterns, and designs, making each floor installation a truly personalized experience.
Customized Experience
Attention to detail is key. From selecting the right type of sand to determining the ideal curing time for the epoxy resin, every part of the process plays a crucial role in achieving the desired outcome.
One significant advantage of sand-infused epoxy flooring is its versatility. Whether it’s used in a single room or throughout an entire home, this type of flooring can transform any space into a work of art. The ease of application and durability make it an excellent choice for both residential and commercial settings.
Materials for Sand-Epoxy Floors
Essential Materials
- Epoxy resin is a crucial component in creating sand-epoxy floors, providing durability and strength.
- Fine sand plays a vital role in achieving the desired texture and finish of the flooring.
Importance of High-Quality Materials
Using top-quality materials like epoxy resin ensures that the sand-epoxy floors are durable and long-lasting. These materials are resistant to wear and tear, making them ideal for high-traffic areas.
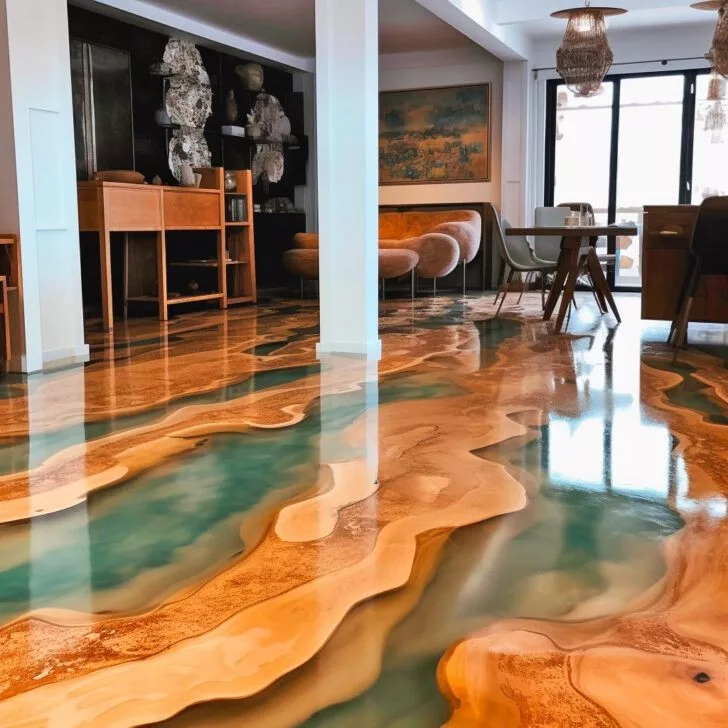
Versatility for Design Options
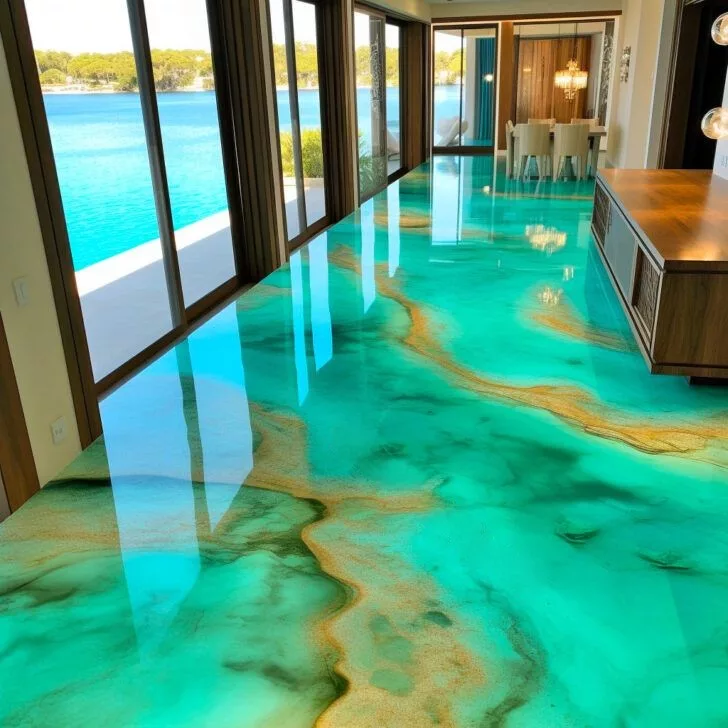
The combination of sand and epoxy offers a wide range of design possibilities. By varying the color of the sand or mixing different types, unique patterns can be created. Additives such as metallic pigments can be incorporated for a touch of luxury.
Crafting Stunning Floors
Mixing Process
To create gorgeous flooring, start by combining sand and epoxy in precise measurements. Mix the two components thoroughly to ensure a smooth and consistent texture.
The key to achieving stunning results lies in the artistic process of mixing the sand and epoxy. This step allows for endless possibilities in creating unique patterns and designs on the floor.
Designing Patterns
When working with sand and epoxy, let your creativity flow freely. Experiment with different techniques such as swirling, layering, or even adding color pigments to enhance the visual appeal of the floor.
- Pros:
- Offers limitless design options
- Allows for customization based on personal preferences
- Cons:
- Requires patience and attention to detail
Skillful Finishes
Achieving flawless finishes on sand-epoxy floors requires a certain level of skill and precision. It involves meticulous pouring, spreading, and smoothing out the mixture evenly across the surface.
To master this art form, practice is essential. Start with small projects to hone your skills before taking on larger rooms or more intricate designs.
Step-by-Step Flooring Process
Preparation
Before applying sand and epoxy for your flooring, it is crucial to prepare the surface properly. Begin by cleaning the floor thoroughly to remove any dirt, dust, or debris. Repair any cracks or imperfections in the existing floor to ensure a smooth base for the coating.
Next, etch the surface using a concrete grinder to create texture and promote adhesion. This step is essential for allowing the epoxy to bond effectively with the floor. Ensure that the area is well-ventilated during this process to prevent inhaling harmful particles.
Layering Technique
Once the preparation is complete, it’s time to start layering the floor coating. Begin by applying a primer coat evenly across the entire surface using a roller or brush. This primer helps enhance adhesion and ensures that subsequent layers bond well.
After the primer has dried, apply the first coat of epoxy mixed with sand for added durability and texture. Use a trowel to spread this mixture evenly over the floor, working in small sections at a time. Repeat this process until you achieve your desired depth of coverage.
Curing Process
After applying all necessary coats of sand and epoxy, allow sufficient time for curing before walking on or placing furniture on the newly coated floor. The curing process typically takes around 24-48 hours depending on temperature and humidity levels.
During this period, ensure that no dust or debris settles on the surface as it can affect the final finish. Once fully cured, your gorgeous flooring will have a smooth and even surface that is not only visually appealing but also highly durable.
Time Required for Installation
Preparation
The preparation phase for installing sand and epoxy flooring typically takes 1-2 days. This stage involves clearing the area, ensuring a clean surface, and gathering all necessary tools and materials.
Mixing and Application
Mixing the sand with epoxy and applying it to the floor is a meticulous process that can take around 3-5 days, depending on the size of the area. The application requires precision to achieve a smooth finish.
Curing Time
After the application, the flooring needs ample time to cure properly. This curing process may last anywhere from 3-7 days, during which it’s crucial to avoid any foot traffic or heavy objects on the newly installed floor.
Factors Affecting Installation Duration
Several factors can influence how long it takes to install sand and epoxy flooring. The size of the area plays a significant role, with larger spaces naturally requiring more time for preparation, mixing, and application.
Another factor is experience – seasoned professionals might complete the installation more efficiently than beginners due to their familiarity with the process. weather conditions can impact drying times, potentially extending or shortening overall installation duration.
Optimization Tips
To optimize time during sand and epoxy flooring installation, ensure proper planning before starting. Have all tools and materials ready to streamline the process. Having a well-thought-out schedule, allocating specific tasks for each day can help maintain efficiency throughout.
Consider enlisting professional help if needed; experienced contractors can often complete installations more quickly while ensuring high-quality results. Lastly, maintaining an organized workspace and following manufacturer guidelines closely can contribute significantly to reducing installation time.
Cost Estimation Guide
Materials Breakdown
Sand and epoxy flooring projects typically involve two main costs: materials and labor. The cost of materials varies based on the quality and quantity needed for the project. Epoxy resin, sand, pigments, and sealants are among the primary expenses.
Labor costs are influenced by factors such as project complexity, surface preparation requirements, and design intricacy. Hiring professionals ensures a flawless finish but adds to the overall cost.
Pricing Options
When considering different sand-epoxy flooring designs, pricing options can vary significantly. Intricate designs with custom patterns or colors tend to be more expensive due to increased labor and material demands.
On the other hand, simpler designs with a single color or basic patterns are generally more budget-friendly. Homeowners can choose from various pricing tiers based on their preferences and budget constraints.
Budget-Friendly Alternatives
For those seeking cost-effective alternatives without compromising quality, there are several strategies to consider:
- Opt for simpler designs: Choosing straightforward patterns or solid colors can reduce labor and material costs.
- DIY approach: Taking on certain aspects of the project yourself can lower expenses, although professional expertise is recommended for optimal results.
- Explore different suppliers: Comparing prices from various vendors can help identify affordable yet high-quality materials for the project.
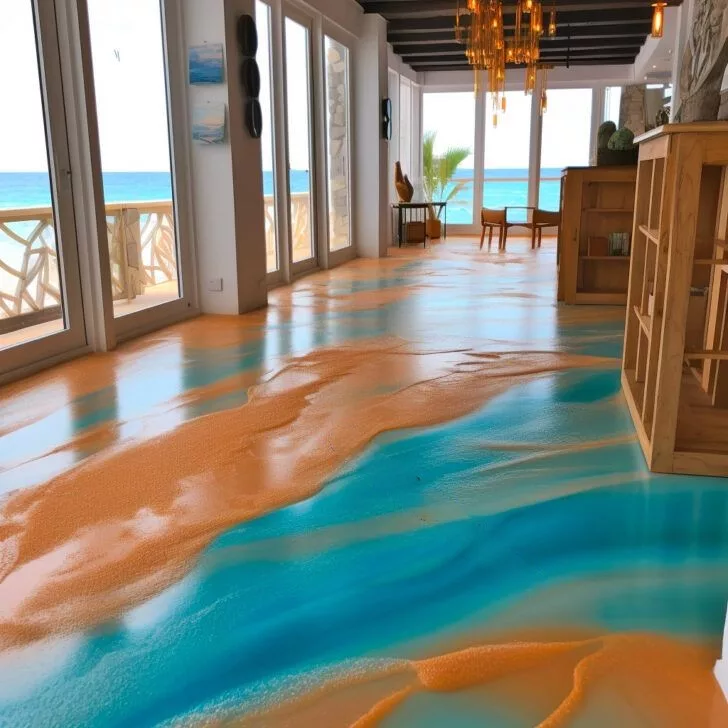
Tips for Sandy Beach Effect
Techniques
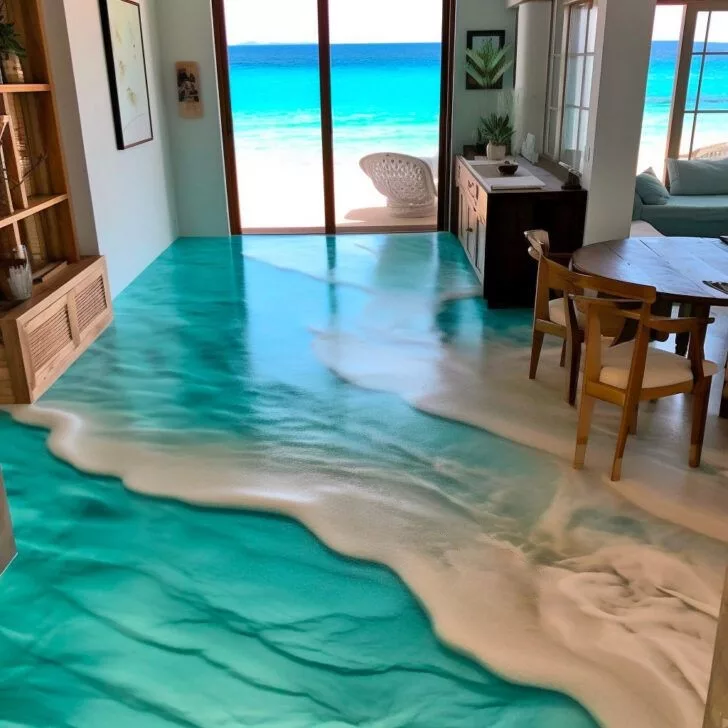
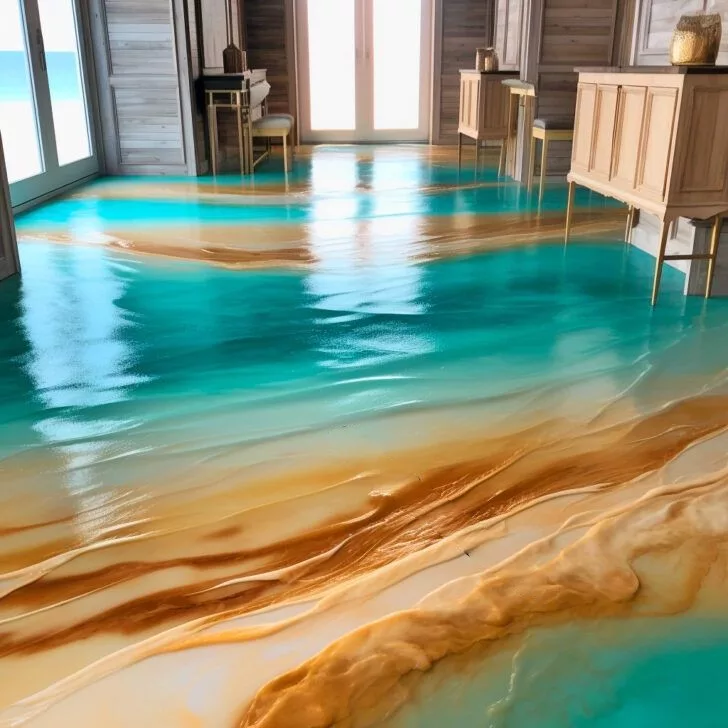
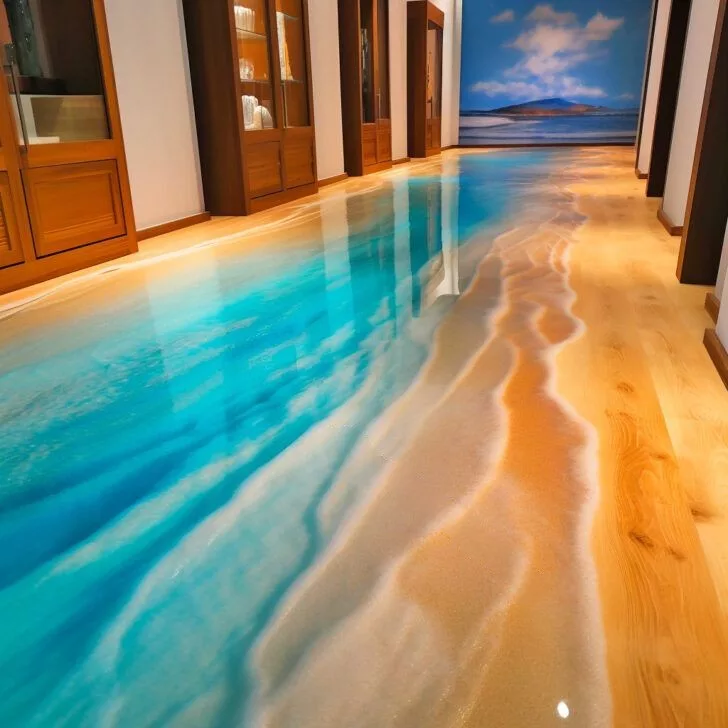
To create a realistic sandy beach effect, mix sand with epoxy resin to achieve a textured finish. Apply the mixture evenly on the floor surface.

Consider using a trowel or putty knife to spread the sand and epoxy mixture smoothly across the floor. This technique helps in achieving an authentic sandy texture.
Read more: Wood and Epoxy Kitchen: Creative Design Ideas
Color Combinations
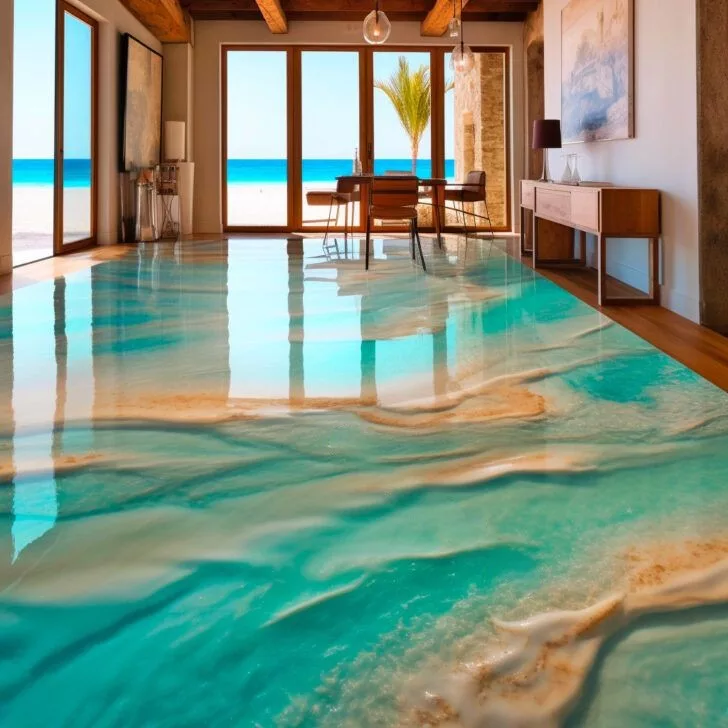
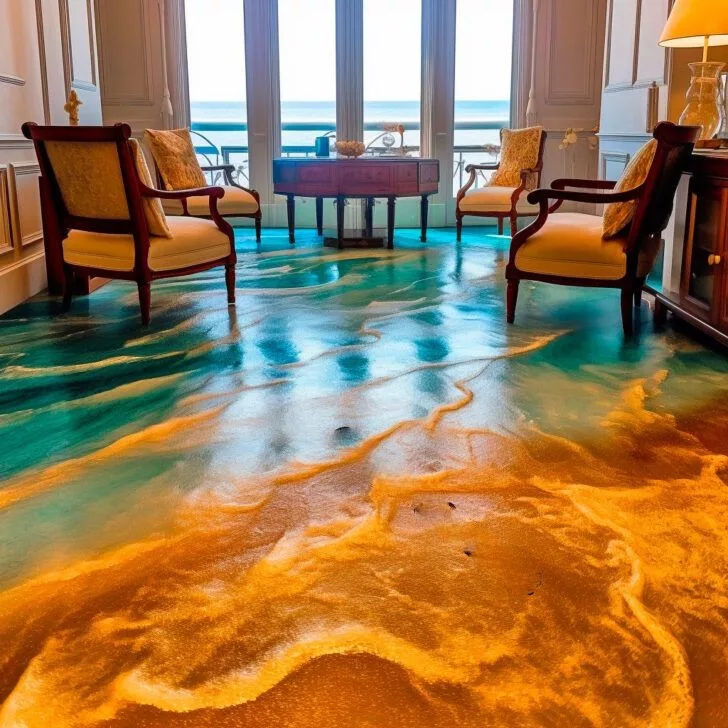
For coastal vibes, opt for color combinations like light beige, soft blue, and pale grey. These colors mimic the serene and calming essence of a beach setting.
Incorporate shades that resemble sun-bleached driftwood or seafoam green to enhance the coastal theme further. Experiment with different hues to find the perfect blend for your space.
Textured Finish Tips
To achieve a beach-inspired look, focus on creating variations in texture. Use different-sized grains of sand mixed with epoxy resin to add depth and dimension to the flooring.
Ensure that each layer is applied evenly and allowed to dry completely before adding another coat. This process helps in building up layers for a more realistic sandy beach effect.
Enhancing Spaces with Sand-Epoxy
Versatile Applications
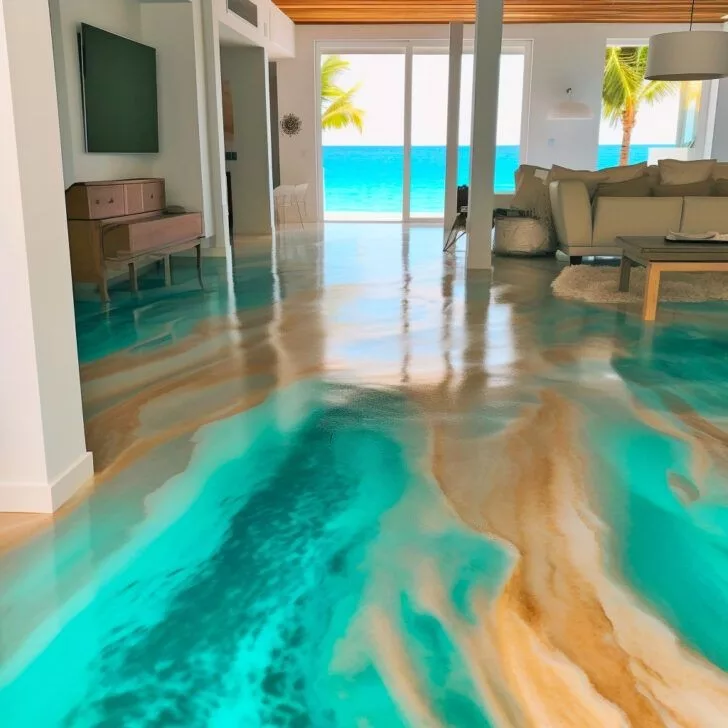
Sand-epoxy floors offer endless possibilities for enhancing spaces, from residential homes to commercial establishments. The combination of real sand and epoxy creates a unique flooring solution that can be customized to suit any design aesthetic.
Sand-epoxy floors are not limited to a specific room; they can be installed in living rooms, kitchens, bathrooms, or even outdoor spaces like patios and pool decks. This versatility makes them a popular choice for homeowners looking to add a touch of natural beauty to their interiors.
Natural Elements Influence
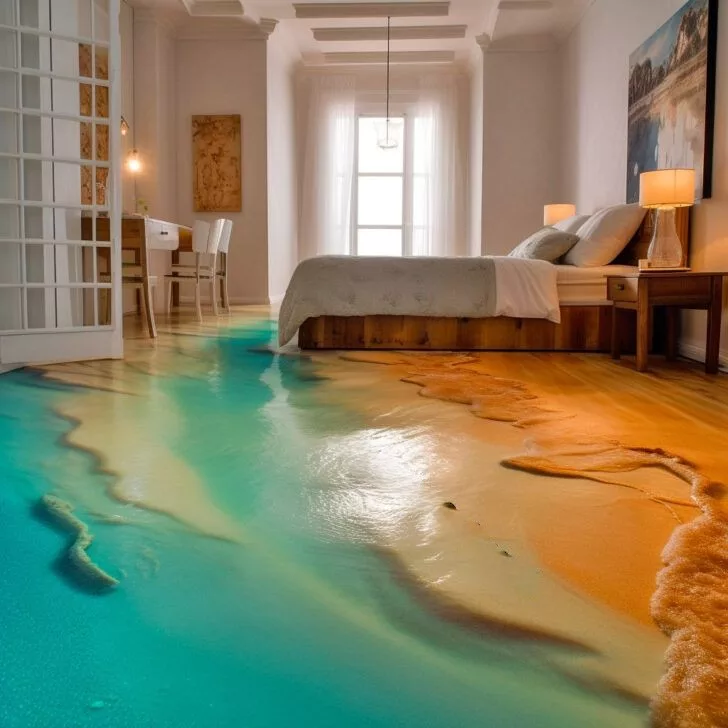
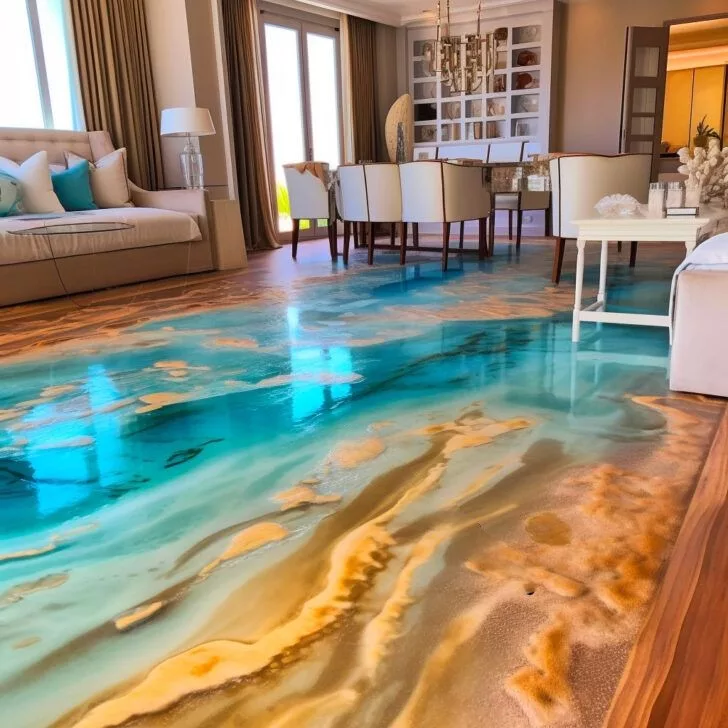
The incorporation of sand-epoxy floors introduces natural elements into interior design, creating a seamless blend between the indoors and outdoors. The use of quartz sand adds texture and depth to the flooring, mimicking the look and feel of sandy beaches or tranquil desert landscapes.
By integrating real sand into the epoxy mixture, each floor becomes a unique work of art, showcasing the beauty of nature within the confines of a living space. This infusion of natural elements not only enhances visual appeal but also brings a sense of calmness and serenity to any room.
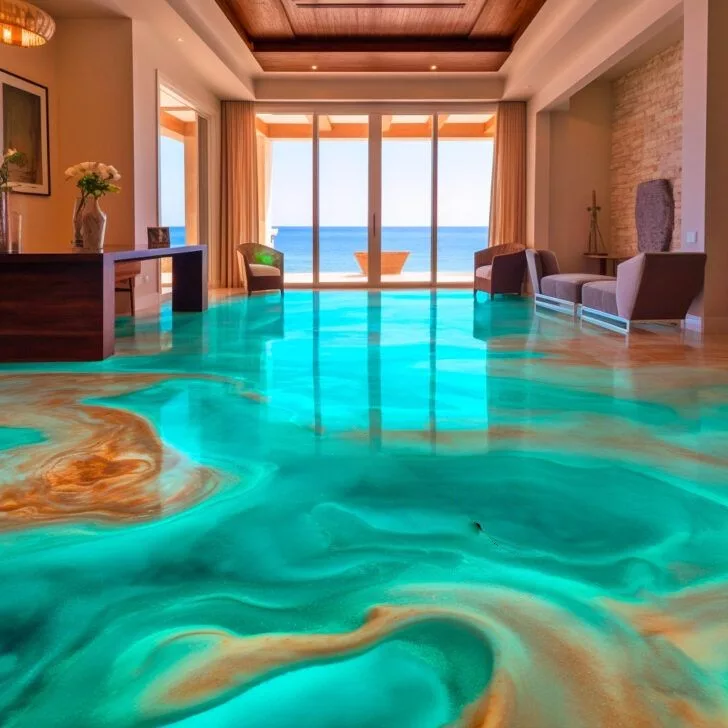
Elevating Aesthetics with Sand-Epoxy
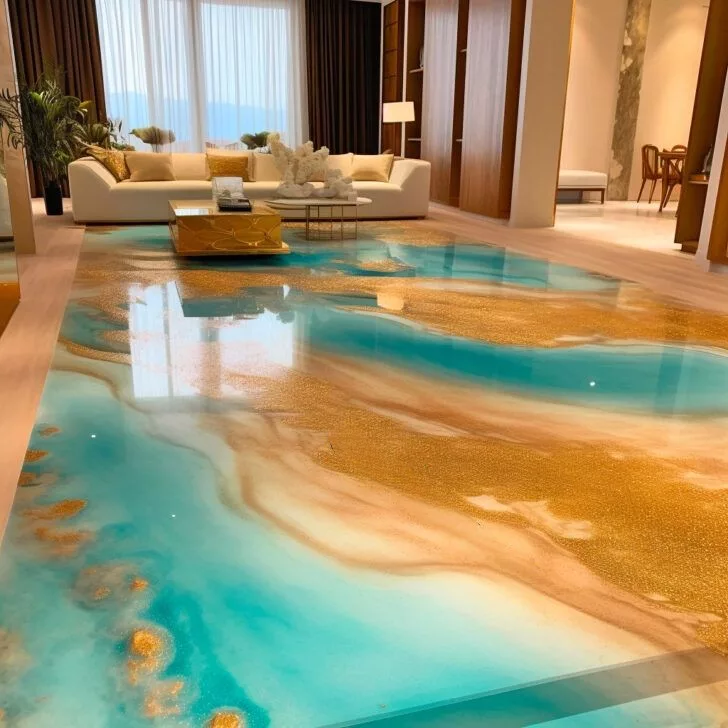
One of the key benefits of using sand-epoxy floors is their ability to elevate room aesthetics effortlessly. Whether aiming for a rustic coastal vibe or a modern desert oasis, these floors provide an ideal canvas for expressing creativity and style.
The process of mixing epoxy with quartz sand allows for endless color combinations and patterns, enabling homeowners to create customized designs that reflect their unique taste. From subtle earth tones to bold geometric shapes, sand-epoxy floors offer unparalleled flexibility in design options.
Maintaining Your Sand-Epoxy Floor
Proper Cleaning
To maintain your gorgeous flooring, regularly sweep or vacuum to remove debris and dirt. Use a mild cleaner with warm water for deeper cleaning.
Regularly mop the floor using a soft cloth or mop to keep it looking its best. Avoid harsh chemicals that can damage the epoxy finish.
Protective Measures
Wear protective gear such as gloves and goggles when handling cleaning agents to prevent skin irritation and eye damage.
Place doormats at entrances to reduce the amount of dirt and grit tracked onto the sand-epoxy floor, minimizing scratches and wear over time.
Periodic Maintenance
Periodically inspect the floor for any signs of wear or damage, such as scratches or discoloration. Address these issues promptly to prevent further deterioration.
Apply a fresh coat of epoxy sealant every few years to protect the surface from stains, scratches, and UV damage, ensuring its longevity.
Final Remarks
You’ve learned how sand and epoxy can transform your floors into stunning masterpieces, offering a unique and visually appealing sandy beach effect. By understanding the materials, process, time, cost, and maintenance involved in creating sand-epoxy floors, you’re equipped to enhance your living spaces with a touch of natural beauty. Remember to follow the tips provided for achieving the perfect sandy beach effect and maintaining the longevity of your exquisite flooring.

Now it’s time to take action! Consider implementing these insights to create your own sandy oasis at home. Whether you’re looking to revamp your living room, kitchen, or patio, sand-epoxy floors can elevate the aesthetic appeal of any space. Start planning your sand-epoxy flooring project today and enjoy the beauty and charm it brings to your surroundings.